
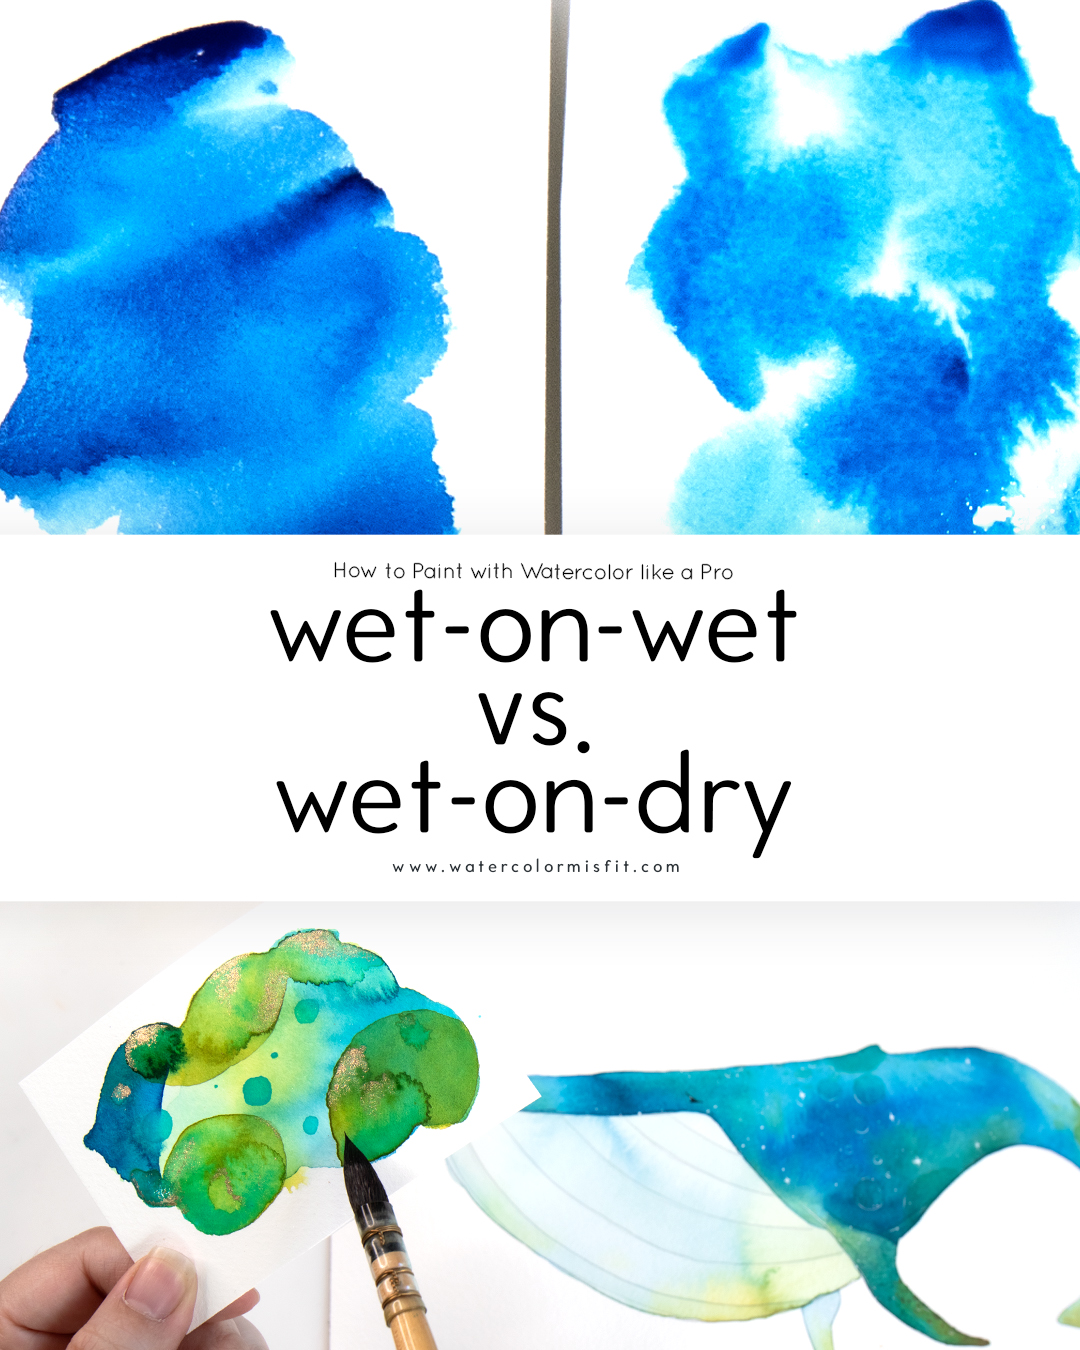
Going Back to the Basics…
If you are just starting out with watercolor, you have almost certainly bumped into these two terms: wet-on-wet and wet-on-dry. They sound a bit like jargon. They are not. They are simply a description of what your paper is doing when the brush lands on it.
Wet-on-wet means you paint onto paper that is already wet. You brush a thin layer of clean water across it first, then, while it is still damp, you drop your color in. And then the loveliest thing happens — the paint blooms and swirls and blends all by itself, with no hard edges anywhere. It is honestly like magic.
Wet-on-dry means you paint straight onto dry paper. No water layer underneath. Your brush strokes stay sharp and defined, and the paint goes exactly where you put it.
That is the whole difference. One is soft and floaty. One is crisp and controlled. Below I will walk you through what each one is best for — and how to use both in the same painting.
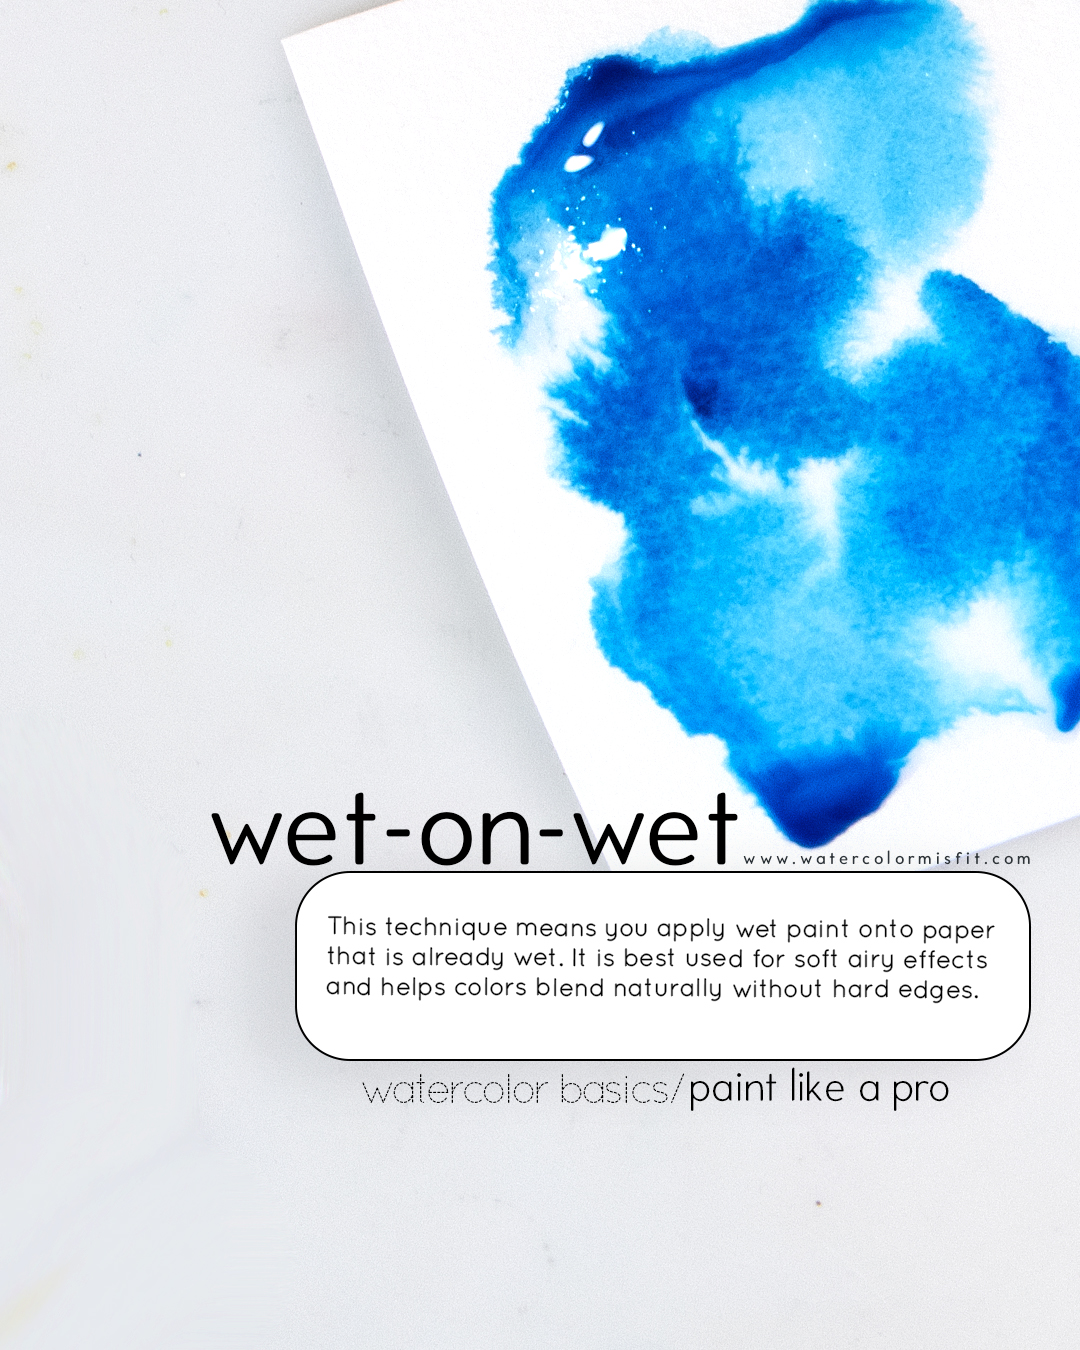
What Is Wet-on-Wet Watercolor?
Wet-on-wet means you paint onto paper that’s already wet.
Start by applying a thin layer of clean water to your paper. Then, while it’s still damp, drop in your watercolor paint. You’ll see the color bloom, swirl, and blend all on its own—like magic!
Why Use Wet-on-Wet?
- Creates soft, floaty effects
- Perfect for clouds, skies, water, or dreamy backgrounds
- Great for loose painting styles
- Helps colors blend naturally with no hard edges
What Is Wet-on-Dry Watercolor?
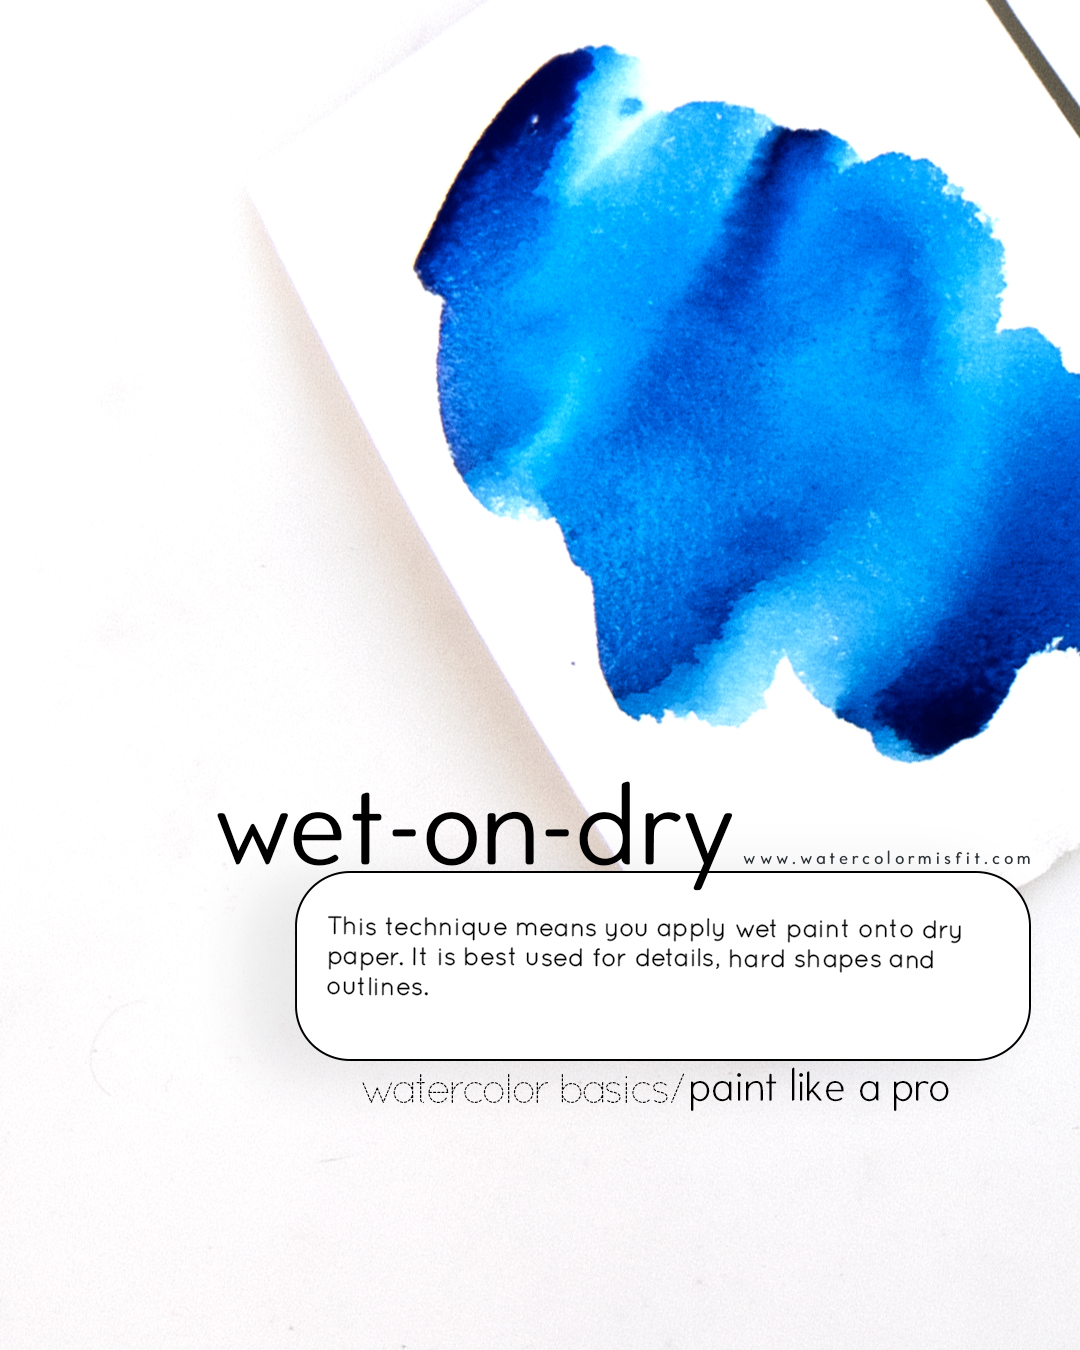
Wet-on-dry is when you paint directly onto dry paper.
There’s no water layer underneath, so your brush strokes stay sharp and defined. The paint goes exactly where you put it—making it great for precise work.
Why Use Wet-on-Dry?
- Perfect for details, outlines, and controlled shapes
- Great for lettering, patterns, or realistic painting
- Helps build clean layers over earlier washes
Use Both Techniques for the Best Results
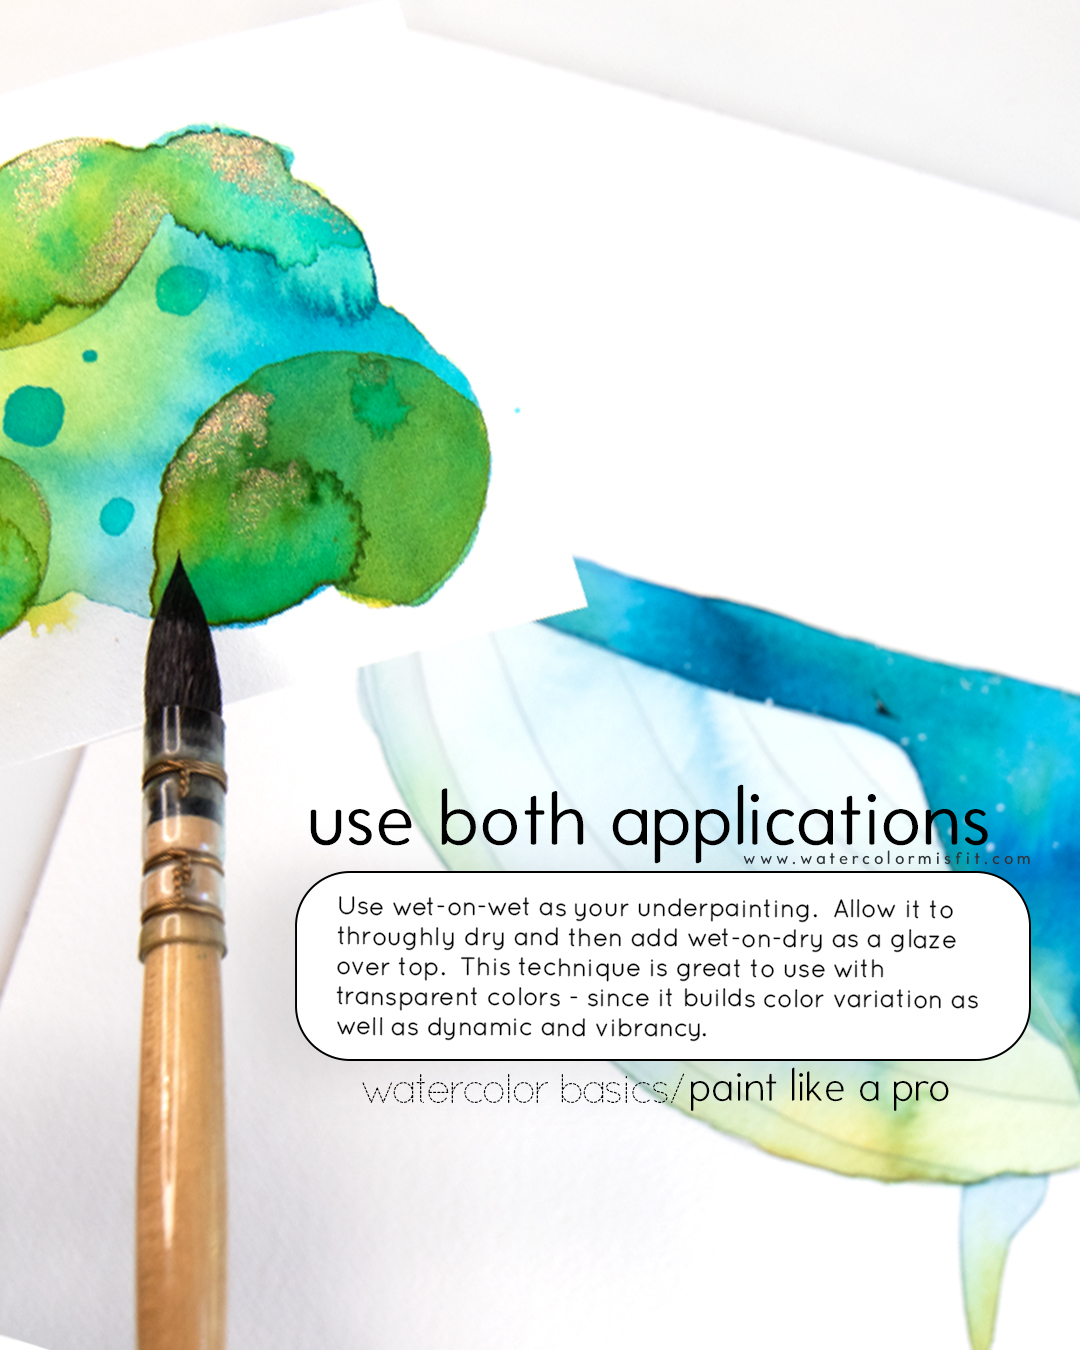
You don’t have to choose just one! The real magic happens when you combine both wet-on-wet and wet-on-dry techniques.
Try This:
- Paint a loose background with wet-on-wet.
- Let it dry completely.
- Add details or shapes on top using wet-on-dry.
If that first wet-on-wet background keeps going blotchy on you, that’s a ratio-and-tilt problem, not a you problem — I walk through it in How to Paint the Perfect Flat Wash.
This combo gives you the best of both worlds—soft, flowy effects and sharp, defined accents.
Quick Recap Cheat Sheet
| Technique | Look + Feel | Best For |
|---|---|---|
| Wet on wet | Soft, floaty, blended | Backgrounds, skies, dreamy effects |
| Wet on dry | Crisp, sharp, controlled | Details, outlines, precise shapes |
And that is a quick run down of the basics of Wet on Wet vs. Wet on Dry watercolor application. This post is part of my Back to the Watercolor Basics series, where I break down key watercolor techniques for beginners (including updated versions of some of my older videos!). So make sure to follow me on YouTube and here for the latest content!