When I was first learning watercolor, the hardest wash for me to pull off was the simplest looking one – a flat wash. Just a layer of color that stays solid from start to finish, no puddles, no lighter-to-darker drift, no drama. It sounds easy. It is not.
I have some years under my belt now, and I have learned how to lay one down every time. So let me hand that to you.
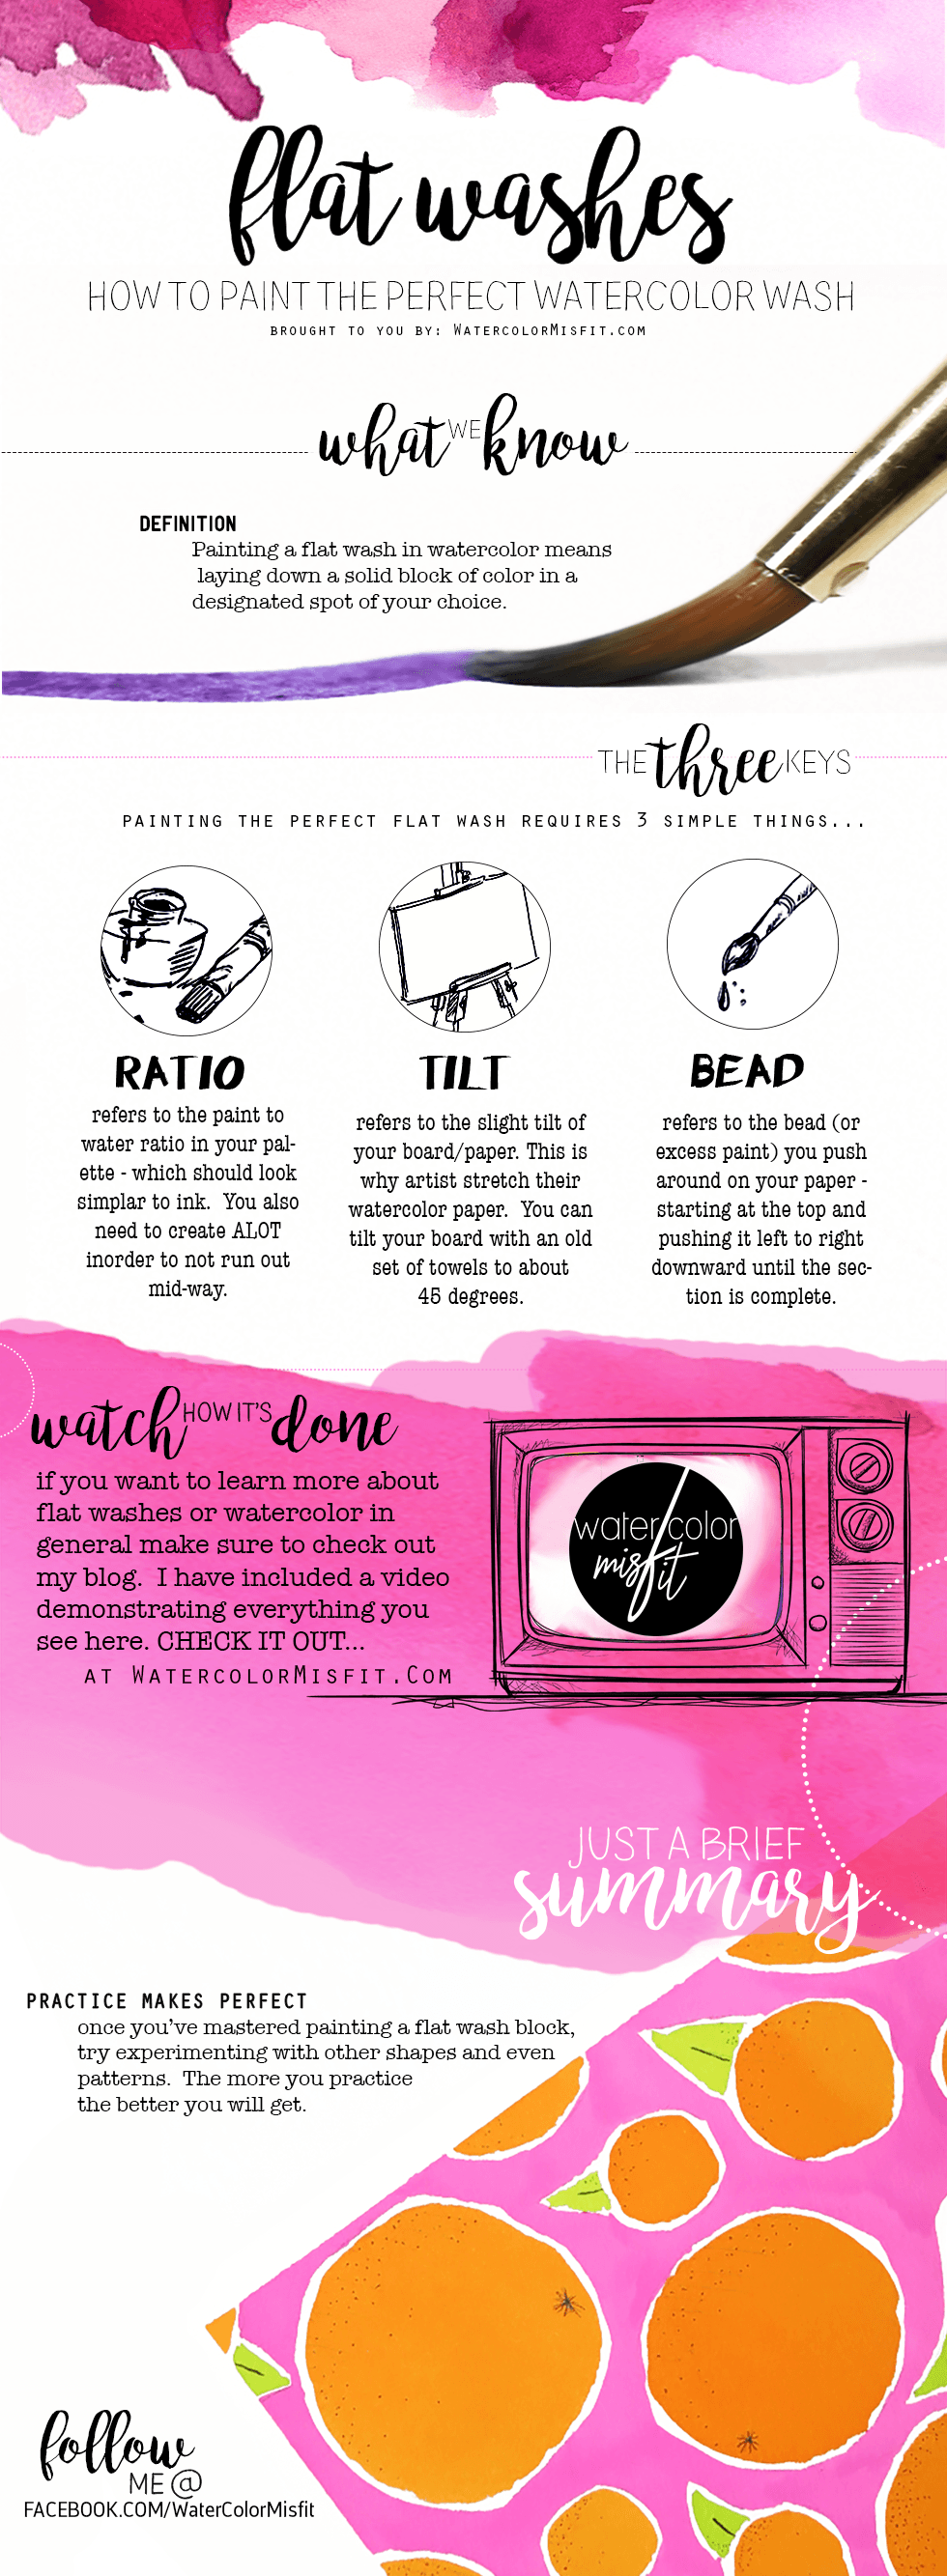
There are really only three things to think about, and I want you to hold all three in your head at once. Ratio is your paint-to-water mix, and how much of it you make before you start. Tilt is the angle of your board, which lets gravity pull the color down the page for you. Bead is that little droplet of paint you push around on the paper.
Get those three right and the flat wash stops fighting you. Here we go.

Ratio
Ratio stands for the paint to water consistency you have as well as the amount of paint you create. If you are doing a larger flat wash – you will want to create a larger paint mixture in your palette.

When painting a flat wash, a big NO NO is stopping mid-way to mix more paint. Time is crucial when laying down the perfect flat wash, as you will see in a moment.
Tilt
Tilt refers to the tilt of your board. If you have ever wondered why watercolor artists stretch or tape down their watercolor paper – this is the reason, especially when working with a super watery mixture.
By tilting your board just slightly, it allows gravity to work with you and pull the paint downward in a more controlled motion. That’s the whole reason we stretch or tape our paper down, by the way – if you’ve never done it, here’s how to stretch your watercolor paper.

One thing we DO NOT WANT is our paint puddling in random areas on the page. Those puddles create those random textures that, while pretty, are undesirable when painting a flat wash.
Bead
And this brings us to our final category, the bead. When talking about the bead of a wash, this refers to the little droplet you are pushing around on the paper. This droplet, or bead, is the key to moving your paint around easily and seamlessly. Your goal, while painting a flat wash, is to move the bead downward in a left to right or right to left motion without allowing it to become too large or too small in the process.
If your bead is too large – it may potentially drip down your paper, causing an unwanted line of color.

But what if the bead is too small? Well, this is where our crucial watercolor secret comes in… well, not entirely – but I wish someone had told me this when I was starting watercolor.
While you are painting, you are going to run out of paint in your brush and need to place more paint on the page. Where you should place this new paint in order to create a smooth transition is in the bead. However, if your bead is too small, you may get a watery texture or a transition from lighter to deeper colors – which is exactly what we don’t want in a flat wash.

Thus, learning how to keep that bead at precisely the right size is crucial when learning to control your watercolor.
Final Thoughts

Once you’ve practiced this technique, try playing around with different shapes other than the ordinary rectangle form. This is great for practicing, but in all honesty you rarely paint a rectangle block in an illustration. Learning how to manipulate shapes with this technique is going to be your next priority.
That’s all for this lesson, as always ya’ll it’s been a pleasure and I will see you next time.