This is probably one of the easiest and most recognizable supplies for watercolor. But since it’s so recognizable and so familiar to us – sometimes we forget that this is actually where the magic really happens. You see…watercolor is all about water control – which starts in your palette with your paint mixtures. So, my question to you is “have you ever seen this on your paint palette before?”

Well, that’s bad (what’s bad?) and I’ll explain why later on in this video. But before we tackle the really cool secrets hidden within our watercolor palette – let’s do a brief overview of the ins and outs of watercolor palettes. So, without further ado, let’s jump into this…
How Are Watercolor Palettes Classified?
When looking at watercolor palettes, they’re classified in 3 ways – Set Up, Size, & Material. Let’s talk about Set Up first.
Set Up
The Commonality
One thing you’ll find in common with all watercolor palettes is that their mixing surfaces are always white. The reason for this is pretty simple and self-explanatory. A white surface helps you gauge whether you’ve mixed the right color hue while you’re working.

Wells and Mixing Areas
The next way palettes are set up is with wells and mixing areas.
- Wells are the place you actually store your paint. Deeper, larger wells tend to be preferred by watercolor artists since they let you dip larger brushes in to retrieve the paint.
- Mixing areas – as you guessed it – are where you mix your paint. Some palettes have one large area to mix your paints with a number of wells located around the border. Others have two to five larger mixing areas with wells located along the sides. This really comes down to the artist’s preference for painting. To figure out which suits you, ask yourself: do you like to work on a large open area without boundaries when mixing colors? Or do you prefer to keep your color mixtures sorted by color family – yellows and browns in one mixing area, greens in another, reds in another, and blues and purples in another?

Size
Small & Large
The next way palettes are sorted is by size. The smaller your watercolor palette, as you’d guess, the easier it is to transport from place to place or paint outside your home. The downside is that a small palette can make it difficult to mix paints and store larger amounts of paint in your wells.
Medium or large watercolor palettes usually have bigger mixing areas and larger wells to store your paints. But they can be overwhelming when you’re trying to paint in a small space or while traveling. Larger palettes also tend to let you store lots of colors at once – which can be good, but can also be a problem for a newer watercolor painter. Here’s a tip: to achieve bright, vibrant watercolor paintings, you really need to learn how to work with a limited color palette.
What I mean by this is learning to use a small number of paint colors (say, 5 to 10) that work well together, also known as harmonious colors. I’m not saying to only use 5 colors in your painting – rather, keep 5 to 10 paint colors on your palette for one painting. With those 5 to 10 paint colors, you can potentially make 50 to even 100 different color variations and values in your painting. But because you’re working with a limited color palette, your illustration’s colors are more likely to stay vibrant and less likely to turn muddy.
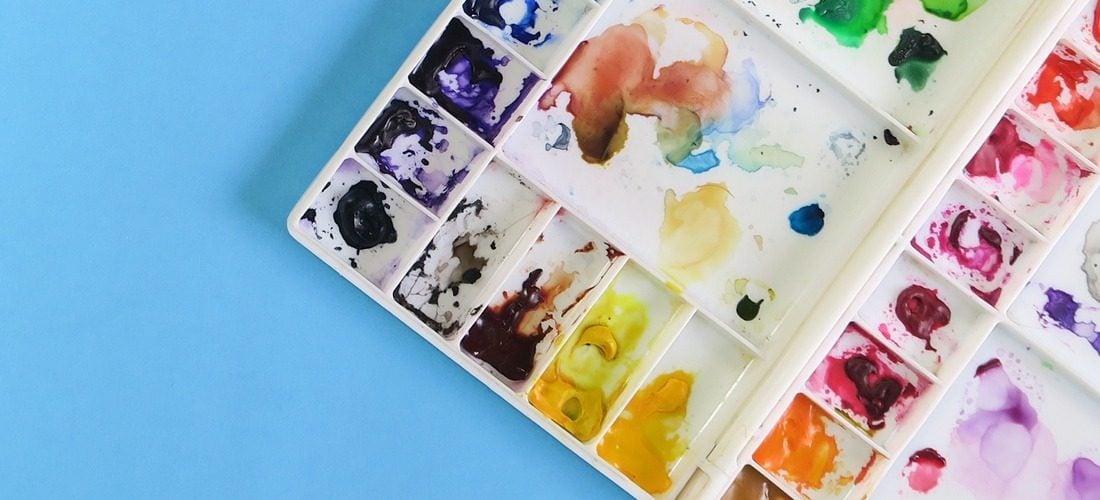
Material
Another way watercolor palettes are classified is by material. Watercolor palettes are sold in plastic, porcelain, and metal. For this post, I’m only going to talk about the two I’ve actually used: plastic and porcelain.
Plastic
Plastic palettes are the least expensive option and the most widely available. The downside is that plastic tends not to let the paint and water mix or gel together well. That’s actually a huge hindrance when you’re learning to mix and use watercolor – your paint should sit on the palette rather than beading apart or disappearing into small puddles. This is why many professional artists work with porcelain palettes instead.

Porcelain
Porcelain palettes, as you’d expect, are more expensive due to the quality of material used. Unlike plastic, porcelain lets you work with your water and paint in a more controlled manner – where it sits on the surface and sticks together, giving you a better read on your mixing and how much paint you’re actually using.
What Palette Do I Use?
As you probably guessed – since I didn’t show you a porcelain palette, I don’t own one. The palette I use and recommend is a plastic palette I got from Amazon for under $10. Yep, you heard that right. :) Of course, one day I’d like to invest in a porcelain palette, but for now I make do with what I have. So how do I fix the mixing problem on my plastic palette?
Well, There Are Two Ways
- You can mix your paints on a porcelain plate from your kitchen, which I’ve done for years.
- A newer option I came across is to take enamel spray paint and spray the inside of your plastic paint palette. This helps loosen up the paint and lets it pool in your mixing area. Both of these are really cheap ways to get more out of your painting experience.

So, I hope this cleared up some things for you and perhaps you learned something new!
…and as always, y’all, it’s been a pleasure and I will see you next time!