
For me, masking fluid can either be your greatest friend or your worst enemy. It’s your greatest friend when you are trying to cover an area of the painting that you’re not working on at the given moment. The problem is when you’re ready to rip it off and begin working on the painting below it. Sometimes it rips off nicely, but then sometimes it decides to rip off the watercolor paper instead – thereby ruining your whole painting!
I know I know, you’ve spent the last few hours or even days and it’s ruined. This is why I want you to read till the end – to make sure this doesn’t happen to you. And I know I’m not alone because this is one of the most asked questions I get when it comes to watercolor (besides basic techniques of course).
So what is it about this supply that makes it so tricky? And how do you avoid ruining a painting while ripping off my masking fluid? Well, the key is in avoiding these common mistakes which I’ve made countless times.
Simply learn from my mistakes below…
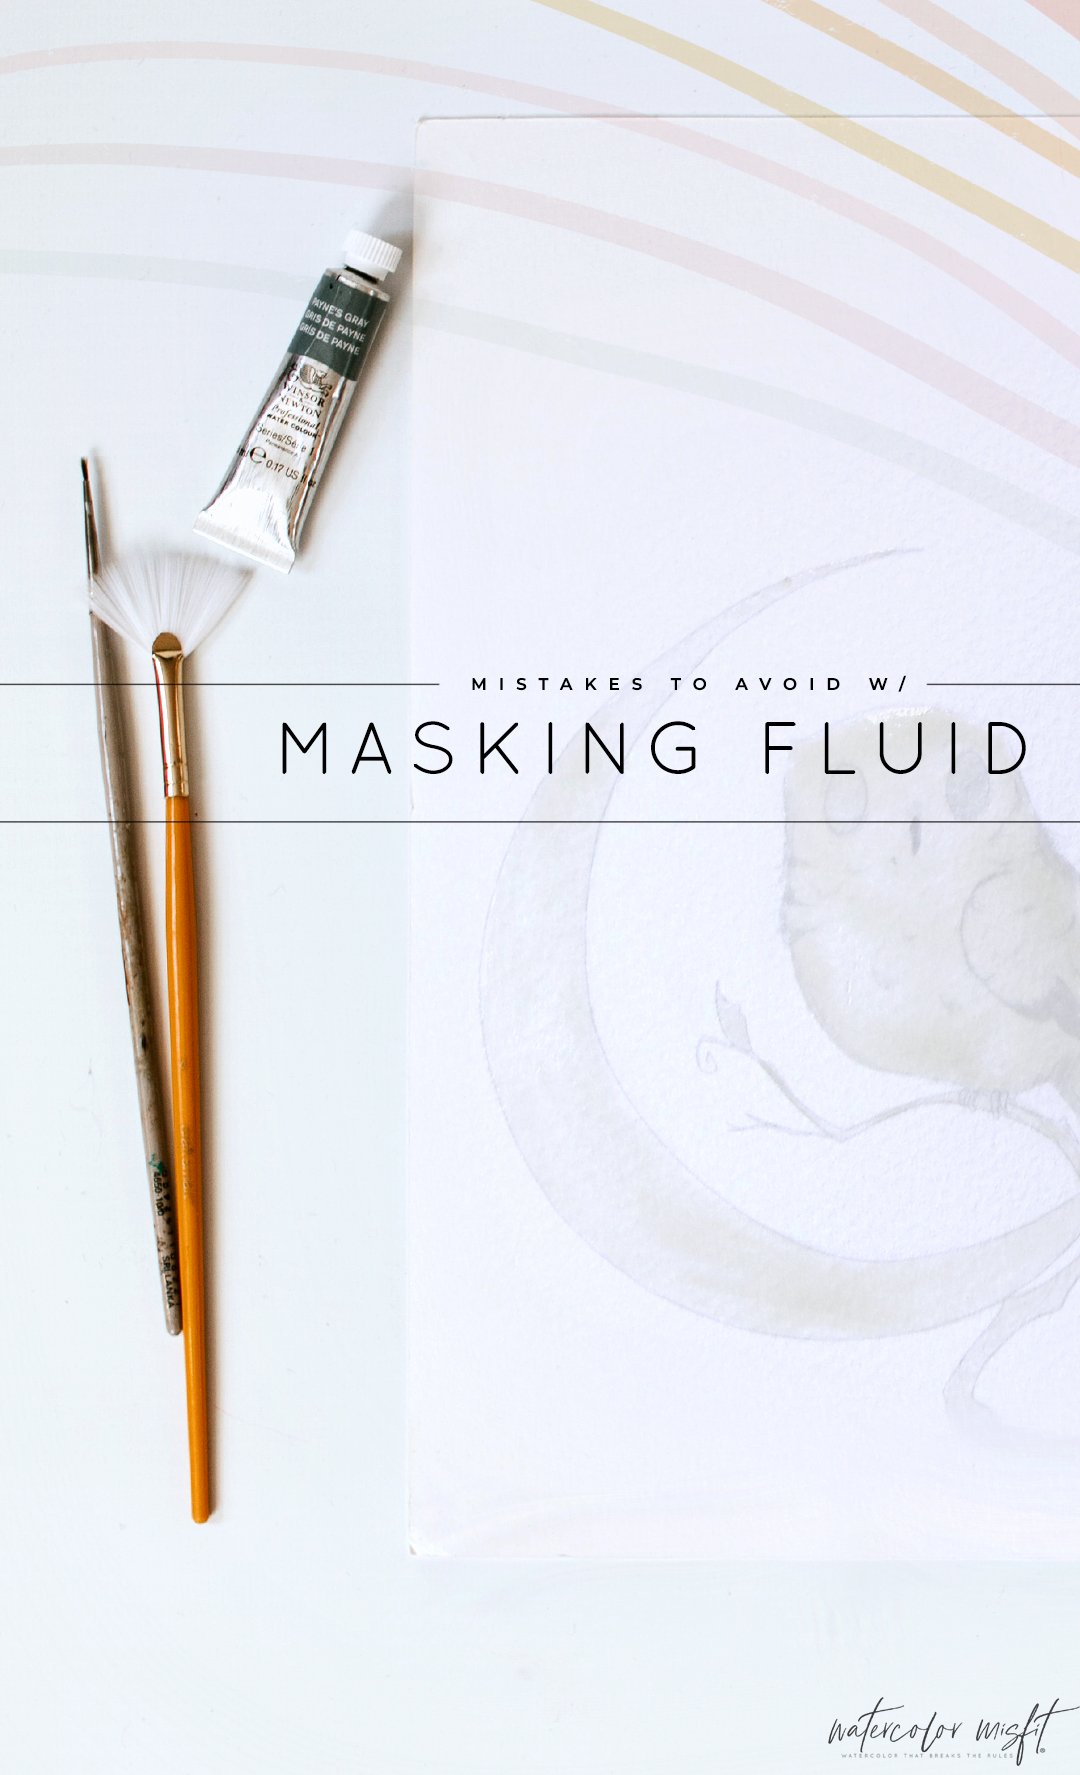
5 COMMON MISTAKES TO AVOID WHEN USING MASKING FLUID
MISTAKE #1: USING THE WRONG TOOLS
Yep, that’s right – there are certain tools you need to be using when working with Masking fluid.
But what about those tiny intricate lines – such as branches? Well, that’s where my second supply comes in…
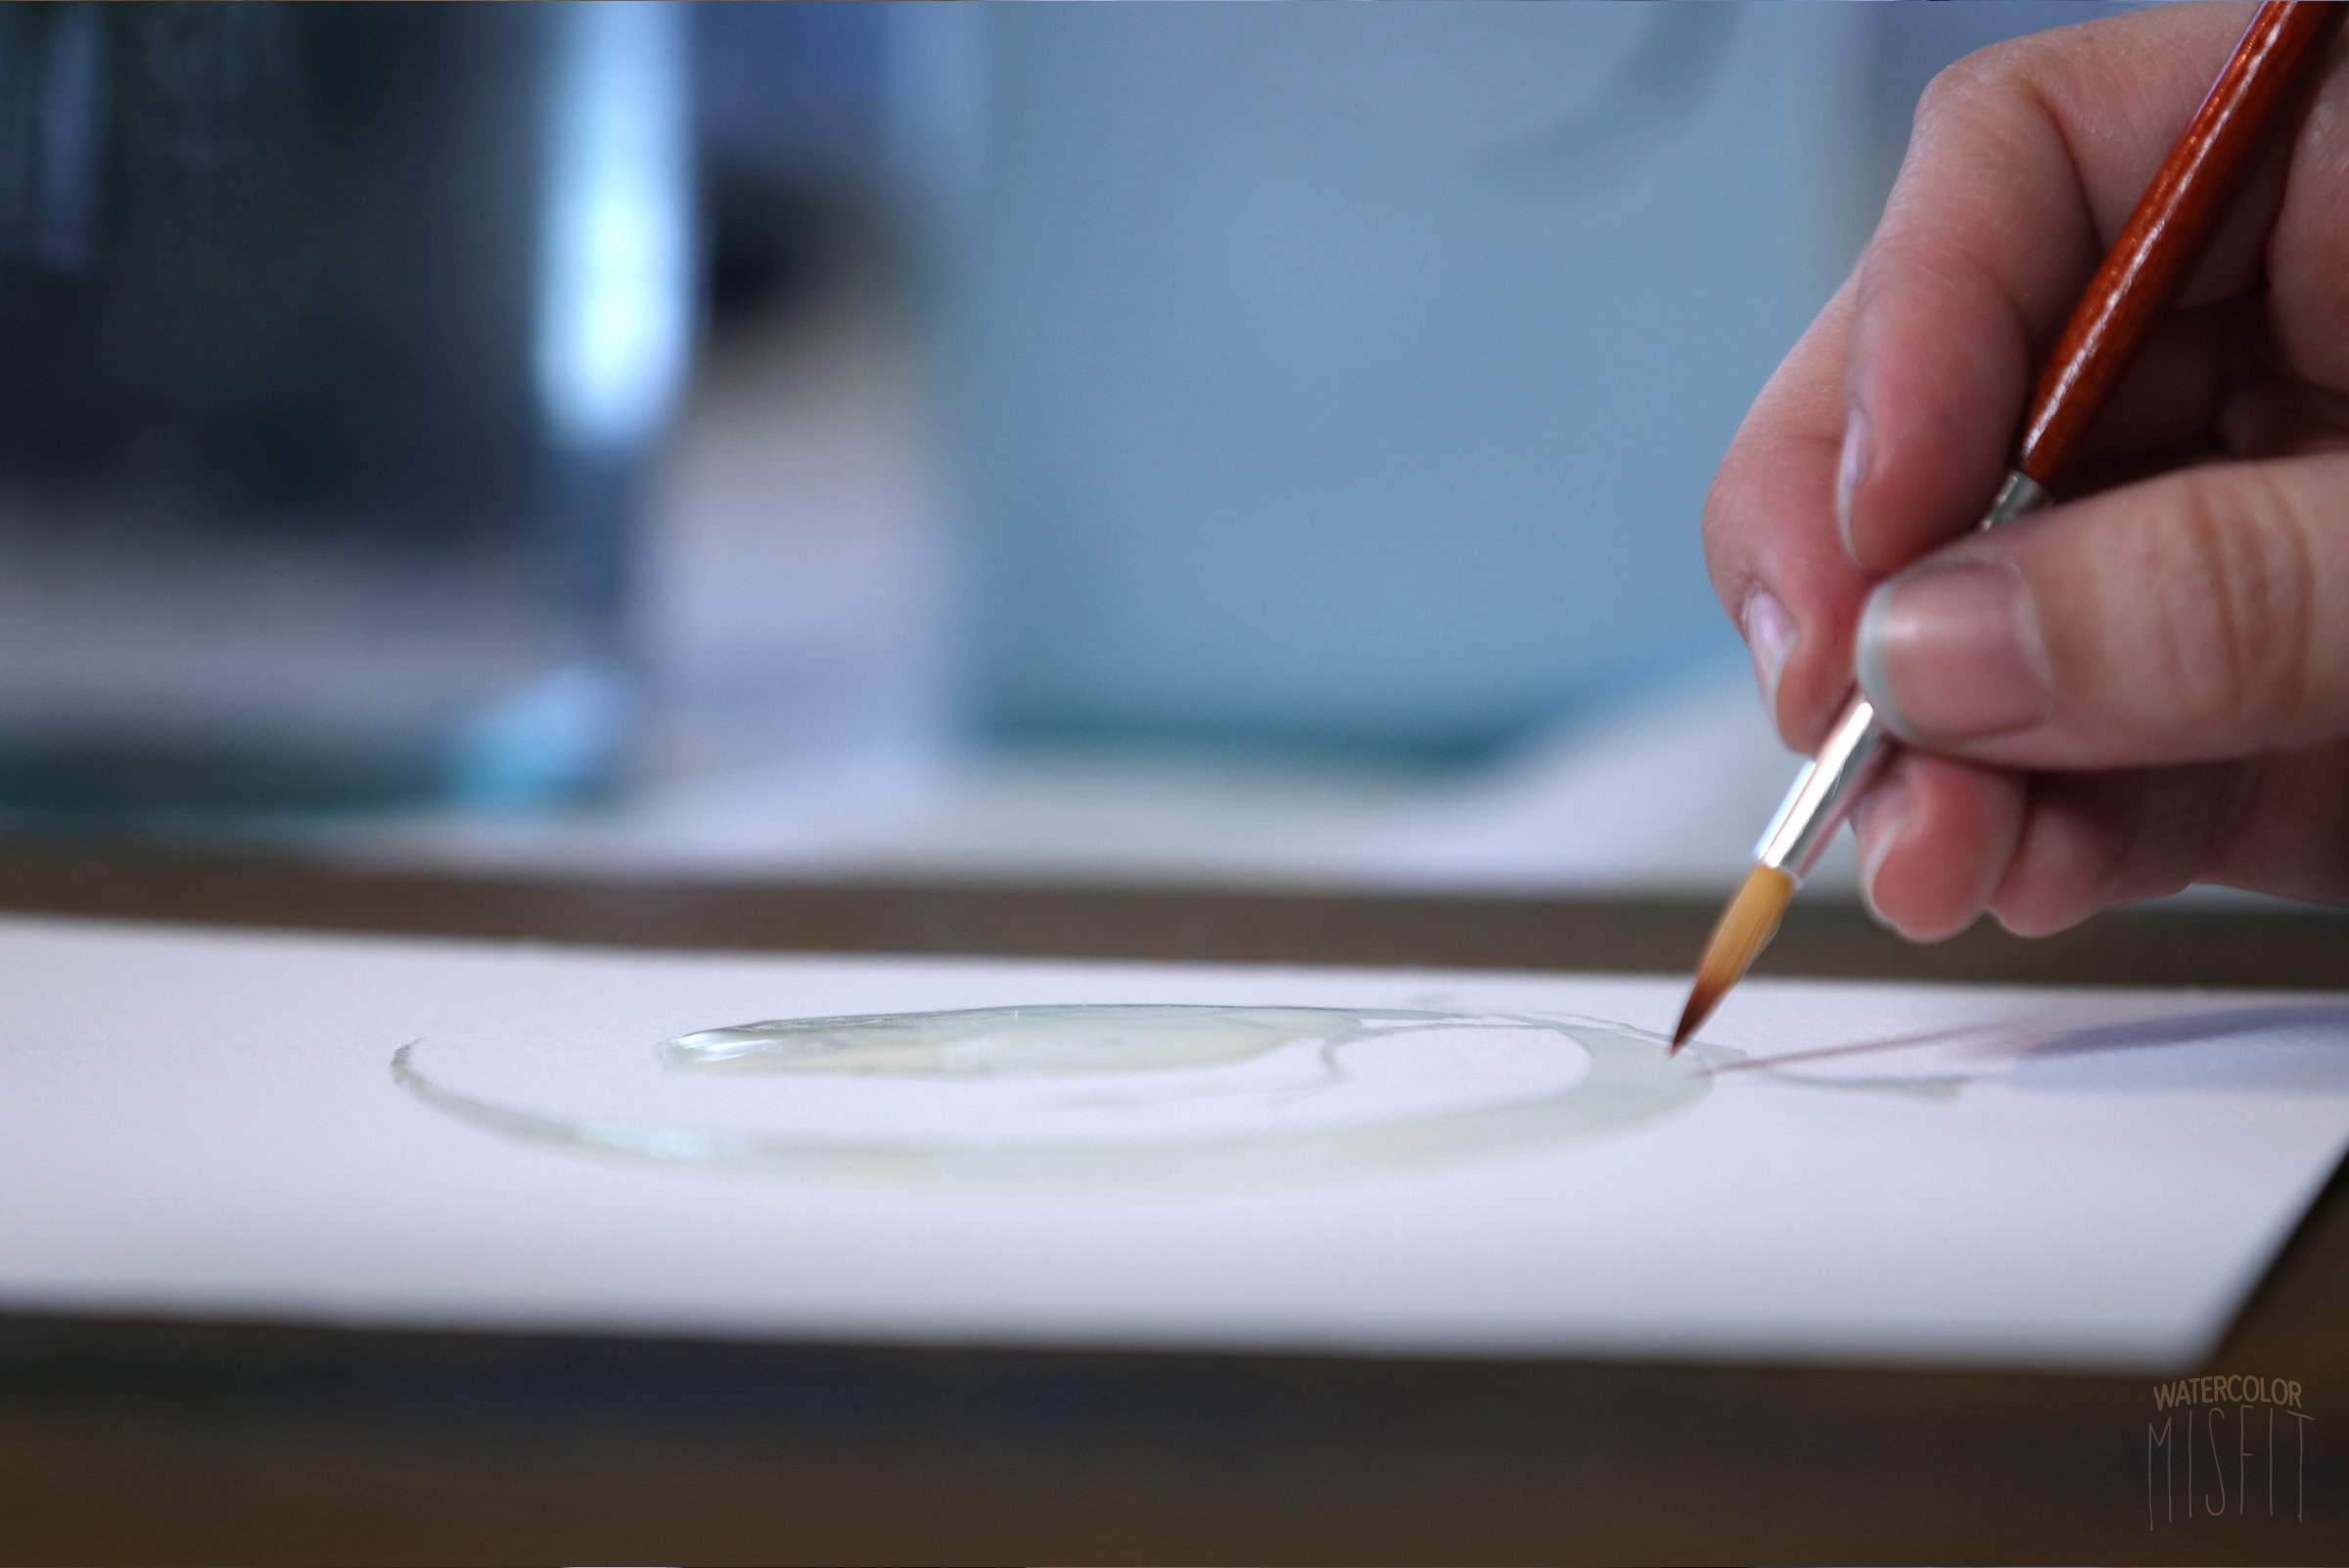
Silicone Brush: For me, using a silicone brush with a point is great for tackling those pesky little lines or details that need the smallest amount of masking. I also tend to use this brush when painting edges with my masking fluid. The reason is that – since this brush is made of a silicone tip it allows me maximum control when using my masking fluid.
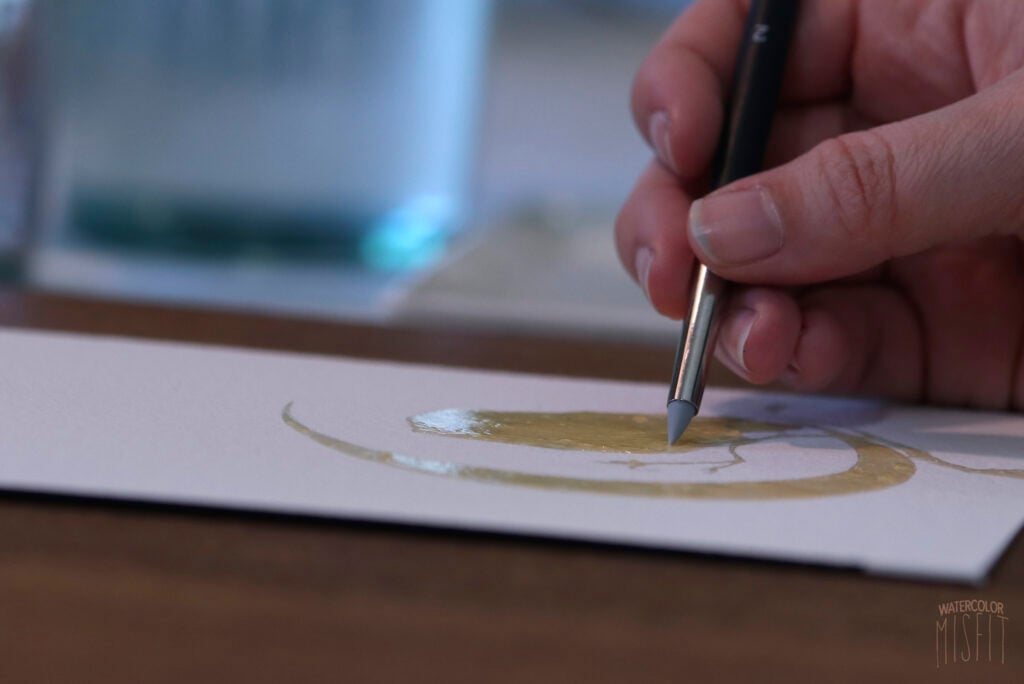
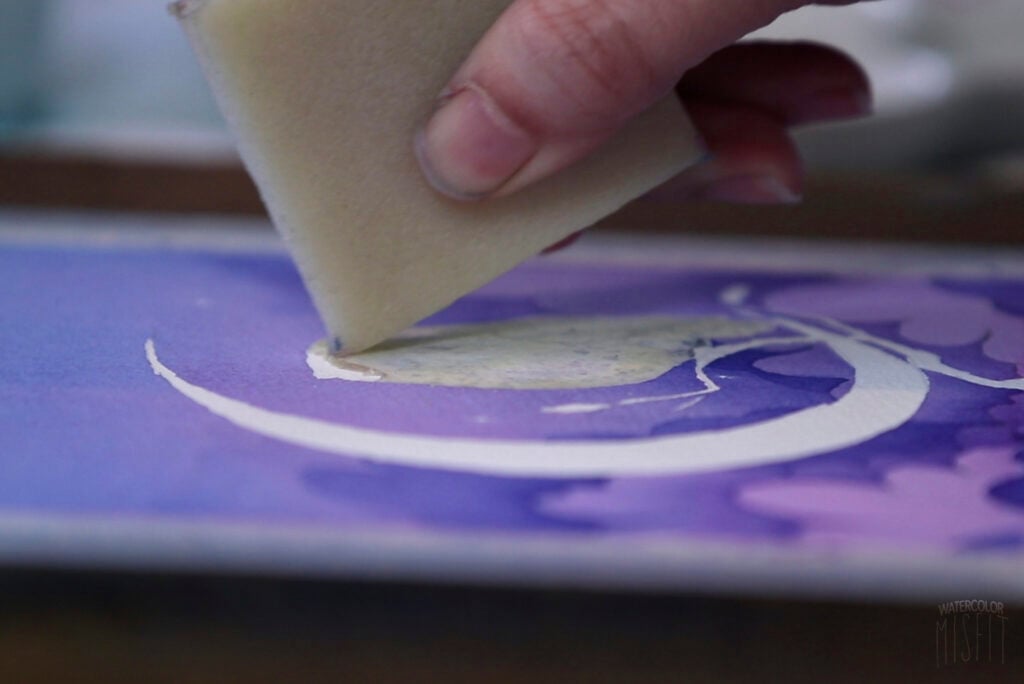
Rubber Cement Pickup: The last supply you will need is a rubber cement pickup – or a masking fluid remover block. This supply helps start the peeling/removing process of your masking fluid. It also helps prevents you from pulling too hard and tearing your paper.
MISTAKE #2: USING TOO MUCH MASKING FLUID
Another common mistake when using masking fluid is using way too much! Masking fluid should be nearly transparent on the paper with a thin smooth and even layer coating. It should not be clumpy or thick. This actually causes tearing and ripping of the paper as well as weird textures when removed.
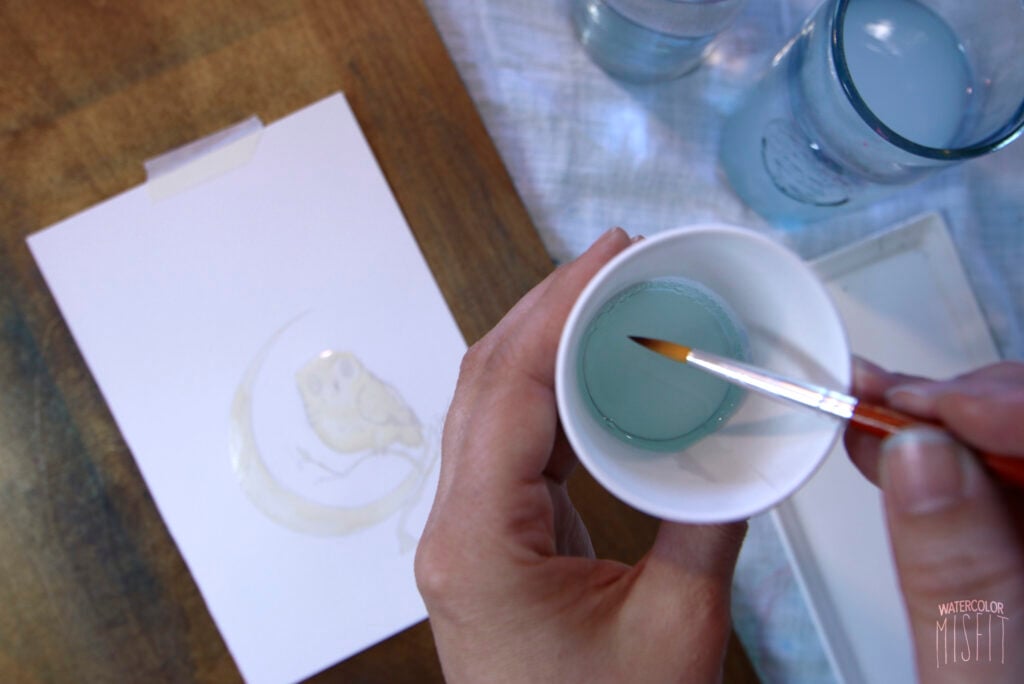
ALWAYS ALWAYS ALWAYS – do a test strip of your masking fluid before adding it to your main painting. Sometimes I’ve found watering down my masking fluid in a small plastic cup has helped prevent the glue from adhering to strongly on the paper. By slightly diluting the fluid, I’ve found that it helps to achieve a thinner coat as well as easier removal when finished.
MISTAKE #3: TIME
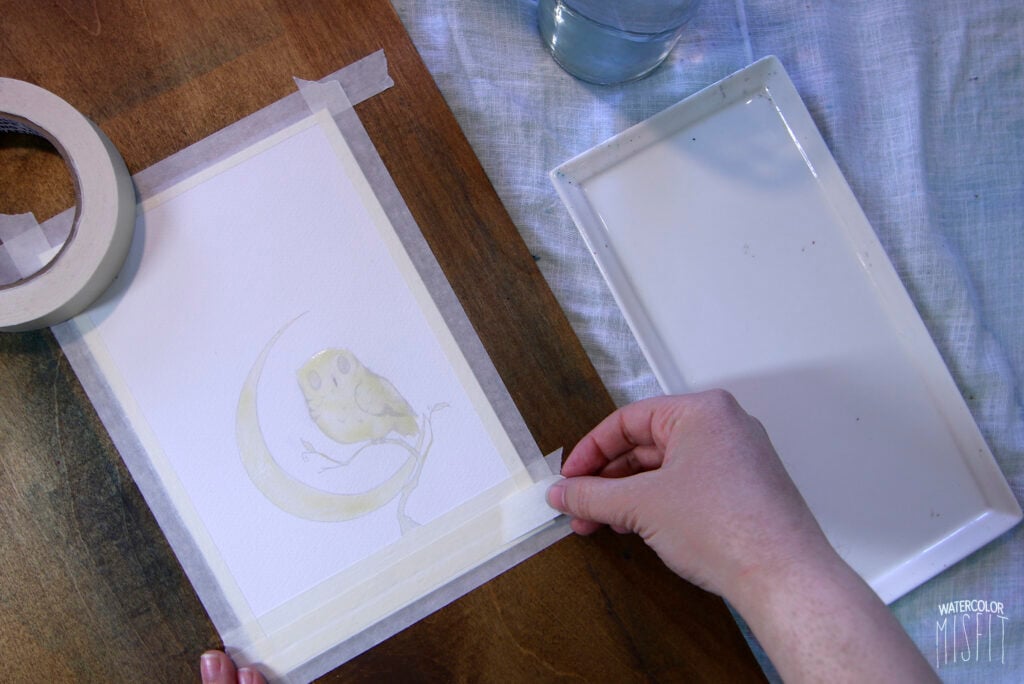
The next common mistake when working with masking fluid is time – using either too much or too little. First – you should never leave your masking fluid on longer than 48 hours. And frankly, I never leave mine on longer than 24 hours. Why? We’ll, the longer your masking fluid stays on your paper the harder it will be to remove.
So plan and work out a time frame when you can tackle your painting (at least while the masking fluid is on your paper) promptly. The next mistake – is not allowing your masking fluid to sit long enough or dry thoroughly. I tend to wait about an hour or two before adding paint over my masking fluid. Your masking fluid should feel tacky when dry and room temp. If your masking fluid is squishy or cool – it’s not thoroughly dry yet. So let it sit!
MISTAKE #4: CONTAMINATING THE BOTTLE
I’ve said this for years – but when it comes to masking fluid “AIR IS YOUR ENEMY!” This is why I never leave my bottle open while using my masking fluid. Rather I pour a small amount into a plastic cup and then quickly twist on the cap. As an added pro-caution – I also flip the bottom upside down trapping the excess air at the bottom of the bottle.
This prevents those gunky dried up pieces from contaminating the rim of your lid and bottle, which can then contaminate your brush and finally, your painting. I’ve included the masking fluid I use below.
MISTAKE #5: HEAT
And finally, the last common mistake often made when working with masking fluid is using heat. Heat can corrupt your masking fluid and make it adhere even tighter to your watercolor paper (meaning more likely for tearing and ripping when removed).
So – if you have to use a drying tool – use cool air such as a hairdryer on the cool setting. It may take a bit longer for your paint to dry using this method – but it will save your masking fluid and, ultimately, your entire painting.
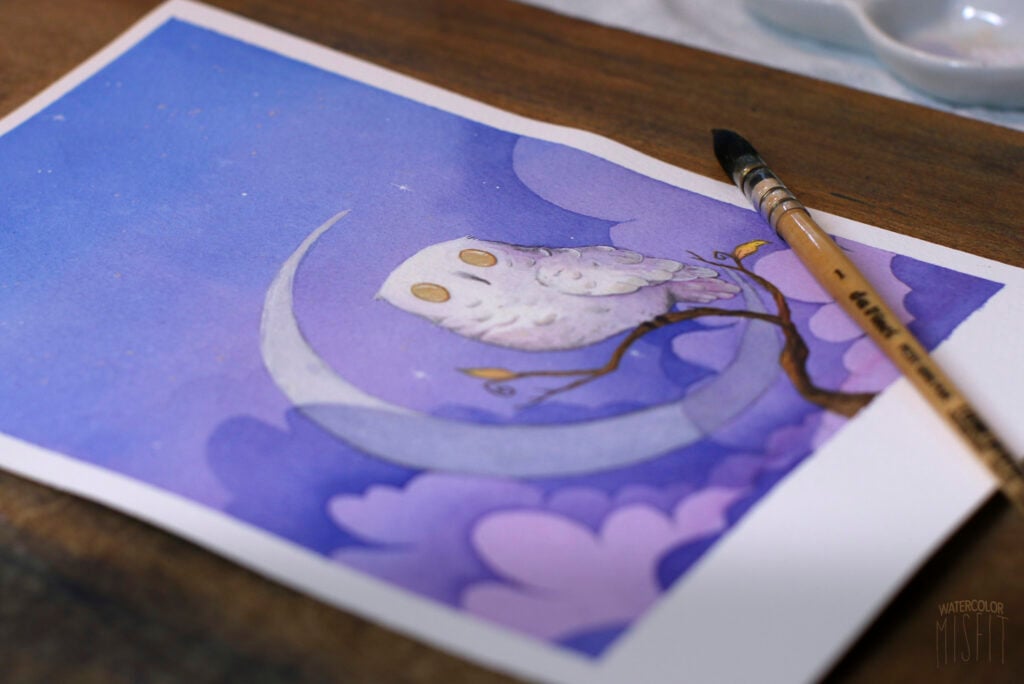
AND THAT’S IT! I HOPE YOU ENJOYED THESE TIPS AND HELPS YOU IN YOUR FUTURE PAINTING ADVENTURES. BELOW IS AN IMAGE OF MY FINAL PAINTING FOR THIS PROJECT.


4 Comments
Abigail J Johnson
August 13, 2020 at 2:58 pmWow! Great tips. Info I’ve never seen before. You are amazing. Thanks.
Trudie Vick
August 13, 2020 at 3:27 pmThank you so much for these tips. I’m guilty of doing a lot of them. Hopefully I will remember them while using masking fluid. Thanks.
Ashlee
December 19, 2021 at 10:22 amThank you for the tips! I wish I’d seen this about half an hour ago, haha. Masking fluid is on the page already, way too thick (I thought this would make removal easier). Wish me luck!
Zippy
August 3, 2023 at 12:21 pmThanks! I will make a note of your tips and tape it to the next bottle I buy.