


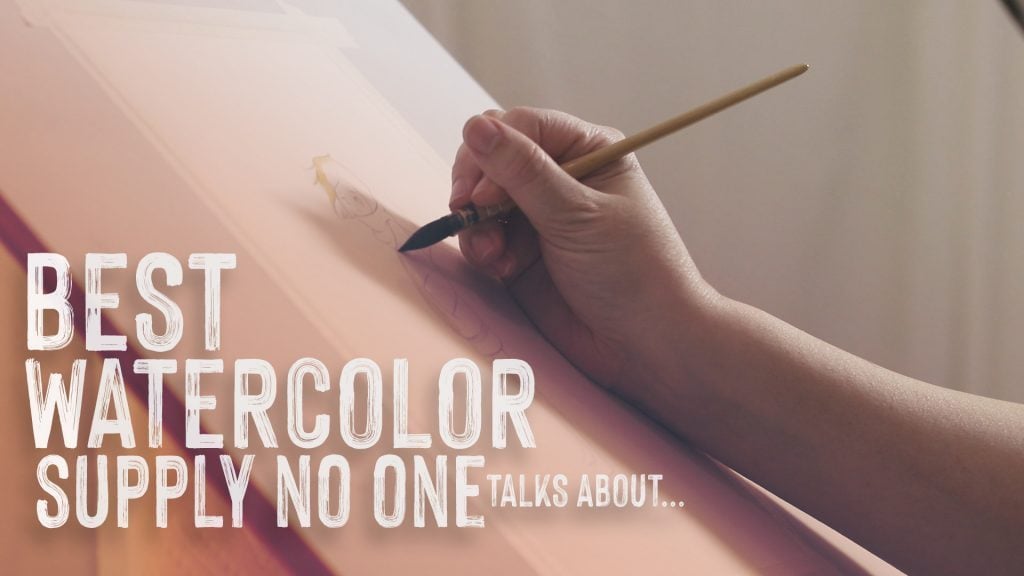
LET’S HIT REWIND…
In my last post – I talked about this one supply that every watercolorist seems to own – but few actually talk about. If you have already read that post – you know that the supply I’m talking about is a stretching board. If you want to know the reasons why that supply is so crucial – make sure to check out my previous post.
CLICK HERE TO READ POST – ONE CRUCIAL WATERCOLOR SUPPLY THAT NO ONE TALKS ABOUT
BUILDING YOUR OWN STRETCHING BOARD…
In today’s post – I’m gonna be simplifying my approach to building a stretching board. So here are the steps to DIYing your own watercolor stretching board.
#1: GO TO YOUR LOCAL HARDWARE STORE
- And search the lumber area…
#2: PURCHASE A SHEET OF BIRCH WOOD
- While there look for sheets of Birch Wood. This wood is known for being water resistant and thus can take a great deal of water abuse – meaning no pools of paper behind your paper while you paint.
#3: HAVE SOMEONE CUT IT DOWN TO SIZE
- Next, have someone cut your wood down to whatever size you desire. I cut mine into 2 square sheets both 19in x 19in. This way I can stretch my larger watercolor sheets of paper but still easily maneuver the board.
#4: SAND THE SIDES AND TOP TO SMOOTH OUT ROUGH EDGES
- Then, wish a sanding block – smooth out any rough edges to prevent splinters from taking residence in your hands.
#5: WIPE CLEAN WITH DAMP RAG
- After sanding, wipe clean any dust or other particles.
#6: PAINT SURFACE WITH CHALK PAINT FOR SLEEK LOOK
- Lastly, paint the surface of your board with some sort of paint. I use chalk paint – since it’s not sticky to the touch and I can buy a whole tub of it to re-touch my wood later on. Basically – we want our board surface as dry as possible – allowing both sides of the paper to dry evenly and thus creating less buckling and warping.

#7: LET DRY
- And finally, let the board dry thoroughly (I recommend 24hrs) before using it.
And that’s it – you can use this board over and over again for countless painting. I’ve even used staples in this board for traditional watercolor stretching and it’s held up fantastically. So needless to say this board will last you quite a while – so in my opinion it’s worth every penny.


2 Comments
Robin
February 15, 2020 at 6:07 pmHey Carrie! I’ve joined this wonderful place about a month ago, taken a few tutorials, you are so creative, talented, I could go on. I am a Misfitian absolutely. This question feels silly but I need to ask, when you use the Arches paper is that your stretching board? Or do you paint then take it off then put on a board until dry? One other thing that I’m struggling with is a particular tutorial, the one on painting the thin and thick lines until you have what is like a ribbon, I cannot get it. I will say I have some cognitive issues from severe neuropathy that is affecting my entire body but I love to paint and this idea just escapes me, I always start wrong, never end up with anything looking like a ribbon. Any suggestions? I am also from SC, my daughter used to go to Elgin a lot to band competition (15 years ago). Thanks for this wonderful site and keep up with the creativity!
Robin C
Fort Mill SC
Robin
February 15, 2020 at 6:10 pmAgain, I’m challenged, I meant Irmo.
Robin C